Showing posts with label river model. Show all posts

Tuesday, November 16, 2010

Visit My River brochures


Cindy and the kids finished up the "Visit my River" brochures and placed them on display in the hallway along with the river models. They turned out great!

Monday, November 15, 2010

Persuasive Writing/River Model Brochure

Cindy's account below of Friday is thorough. Here are some more pictures of what happened on the art side. I started off by showing the students an exemplar I'd made. I explained that for a brochure, we want it to be eyecatching as well as interesting to read. You can persuade people with words, but you can also persuade them with colors and images. I told them about each of the steps for the project and that they'd start once their final draft was ready. The students have practice with a "centers" activity format in the classroom with individual groups doing separate activities, which equipped them well with the more organic flow of work that occurred on Friday. When I arrived, most of the students had reached final draft stage of the persuasive writing for their brochures. In the back of the room I set up a station for the distribution of watercolor sets and paper for creating a colored background on 2 sides of a page for the brochure. As students were ready they came back to me, I demoed the instructions very quickly and told them what to do when they were finished. When the painting stage was complete I had students clean up the watercolor sets and set aside their page to dry while they created a drawing for the interior of the brochure. I asked students to read what they wrote and if/when a mental image came to mind in response to what they had written to create an illustration drawing from that mental image.
Bailey draws an illustration for her brochure

When their drawing was complete and their page dry, students came back to the stamping station to create a border for the interior and exterior of their brochure. In the original description to the whole class we mentioned that "border" and "frame" mean similar things. I asked them whether their river showed a rural, suburban, or urban community and whether they could find stamps that would relate to their model and writing.
Students work on stamping their borders- they loved this part!
 When stamping was complete, I had them fold the page in half, glue a picture of their river model to the front cover, and create a bold colorful title. Then they were to bring their draft to Cindy for a final edit before copying their text to the lined page with their drawing. A few students reached the very last step, which was to cut out the text and drawing to glue into the interior of the brochure.

Daniella shows off her front cover: "Visit the Swan River!"
The classroom was a hive of focused activity. It's a bit hard to wrap my head around managing 24 kids at staggered points in a process, but it worked. There was no down-time or boredom happening. And the staggered aspect meant I actually had a lot of one-on-one interactions with the students.

We'll be heading back into fiber arts next week as we begin elements of our big collaborative piece and focus more specifically on the Delaware River.


Sunday, November 14, 2010

River Model-First Try at a Persuasive Writing

On Wednesday, Marie and I were all set to have the children compose a persuasive piece to be edited and used in a "brochure". This would give the students the experience/practice of using what they have learned about Main Idea and details as they write in a persuasive style, which they hadn't yet done. We talked about who their 'audience' would be (people that would come to visit the river) and the purpose of the writing (to convince those people to visit their river). We had a four-square with the general topics already put in to hand out to the kids. We had decided to use this opportunity to have the kids show what they understood about landforms (the first square); the source (the second square); and the mouth (the third square); as they tried to persuade people to visit their river.

As the lesson progressed, we could see that merging the idea of a persuasive piece with and informational piece (the landforms, the source, the mouth) was confusing for the students, and their writing was not focused. This was certainly a moment to reflect for me as a teacher! The students struggled through trying to include information as they tried to persuade, and the writing pieces needed so much support that I decided to simply use it as writing practice, and to start from scratch on Friday with a more defined writing task.

On Friday, before Marie arrived, I introduced a graphic organizer that was specific to a Persuasive Writing. I modeled the purpose of a persuasive (in this case a brochure) and filled in a large graphic organizer that had 3 Main Reasons, each branching off into 2 details. We decided on the 3 main reasons someone should visit the river would be 1) what you can do there 2) what you can see there and 3) how easy it is to get there. I used the kids ideas to fill in the 2 details for each of these Main Ideas, and reiterated the fact that the conclusion would restate the main purpose-Visit My River.

I then modeled writing each main idea as the beginning of each paragraph as a full sentence, and then added each detail as full sentences. I reminded them to add even more details, if they thought they could. I gave another mini-lesson on using a Thesaurus to find better (expensive) word choices to make their writing more interesting to the reader. I then handed out the blank version of the graphic organizer I had used on the board.

Now the students had 2 tasks to focus on, the persuasive writing and using better word choices. The persuasive writing and the searching for better word choices had also both been modeled. Now, the task began to move smoothly! By the time Marie arrived, most of the students were done the graphic organizer and ready to begin the writing. Marie explained how they would make the brochure, and noted the visual elements that would draw "potential visitors" to take a brochure and then perhaps decide to visit the river. She explained how just as the writing was important, so was the decorative aspects of the brochure. She encouraged them to look closely at their writing to choose what to decorate the brochure with (we were using lots of stamps of Naure); again connecting the art to the writing.
Danielle is ready to put her text and picture into her brochure cover
The lesson went smoothly, as each child finished their rough draft, they came to me for editing and then to Marie to embellish the brochure. As in all writing tasks, each child moved at their own pace and the classroom was full of children at different steps of productivity! The writing in the brochures was now more focused and lots of students actually used the thesaurus to change particular words!

Note: I should mention at this point that this particular group of third graders came in September as Basic and Below Basic Readers and Writers, and 1/3 of the class have IEP's that entitle them to extra support from a Resource Room Teacher. Math is also challenge for them. I have adjusted my teaching style since September to accomodate the types of learners in this classroom, we move steadily and methodically, with lots of visual prompts and reminders.

Thursday, November 11, 2010

River model wrap-up

Cindy and I recognized an opportunity for an added writing activity and assessment based off of the students' completed river models. We decided to have them create a brochure to invite tourists to visit their river as a persuasive writing piece. I remembered the children being very excited about Captain Dee's riverboat brochure when we went to Upper Black Eddy and thought they'd enjoy making their own. As I started to introduce the concept of the brochure on Wednesday, one of the students pulled out that very brochure from his desk! We looked at what kind of information is included in an advertisement, such as pictures, exciting sensory descriptions of what people will do and see, and contact information.
We had the students look at their river models and fill out a four square writing organizer to prompt their writings, and Cindy modeled how to fill it out on a transparency on the overhead projector. The reading specialist was with us, and she created a set of sentence starters for the kids to use when they started writing their paragraphs. Despite the modeling and the sentence starters, the writing portion was a challenge for many of the students. It took a lot of work and editing to push their ideas.
I think the students' "plateau" was evident. I'm going to read some when I go in on Friday and see if they're what we want to use as the final "copy" for their river brochure. On Friday we'll paint and stamp the background paper and draw pictures to include in the brochure. I've taken photos of ant's eye views of their maps to collage in (see above). If time allows, they'll include their writing, if not, Cindy is considering a revised, more persuasive version of the writing. On the one hand it's frustrating that this supplemental extension activity did not go as simply as I had thought it would, but on the other hand it's good to be able to identify the students' strength and weaknesses to know what we need to work on.

Tuesday, November 9, 2010

Wednesday, November 3, 2010

River Model Prep

To prepare the students for our river model project and incorporate some reading practice, Cindy found a great 2-page story about 3 kids making a relief map model out of dough. A lot of art vocabulary was used, like modeling and representation, and Cindy defined dough in a very tactile way that should have them sparked for working with the model magic on Friday! Cindy and the guided reading specialist pulled aside particular kids for guided reading groups to help them through the story while I kept an eye on class progress, answered any vocab questions, and redirected some of them to where to find the answers for the comprehension questions at the end. It was interesting to see how so many of them gloss over or write simple/easy answers, but when prodded or questioned to think about the "why" then they are able to provide a more in-depth answer. There's a lot of copying going on, even artistically, and I wonder right now if it's just a strategy that helps the below-level students keep up and how much to allow it.
While we waited for students to finish the reading we passed out sketchbooks and gave kids time to color some of the sketches they had done on our trips. It was nice to revisit the experience that way. Some of the kids debated about what they saw when/where.
With everyone ready, I asked the kids what the reading was about (making a model out of clay). I asked them if they remembered seeing any other models when we were on our trips (the swing bridge at the canals, the Delaware river map at Penn's Landing, and the pollution watershed model at Riverbend). I told them we would be making our own river models and so we needed to brainstorm what important things should be on the model. With "Parts of a River" written on the board the kids helped fill in the spidergram (water, land, tributaries, mountains, source, mouth, animals, plants, roads, houses, bridges, boats, buildings, urban, suburban, rural).
When we got to the last 3 words about community types a student hopped up and brought me a chart they had made with Cindy showing urban, suburban, and rural in concentric rings with pictograms of what one might see in each spot and how crowded or spread out they'd be (I love seeing how much drawing Cindy uses in her lessons- is this a new thing? Even in the math lesson I saw at the end she asked the kids which way it was easiest to solve the problem-- and stressed drawing a picture). This gave us a quick review and opportunity to talk about communities we've seen and experienced, and compare the kids' more suburban life with my city life.
 With that I told the students that we'd be making our own river models that share all the physical river features (and we circled source, mouth, land, river, tributary, and meander) but that they'd be able to choose whether their model showed a rural, suburban or urban area. I passed out the mdf boards we'll be using as a base for the children to trace in their sketchbooks and make a plan. I asked them what we call that plan an artist makes before they start a project (Sketch!).
The kids had plenty of time to draw a design for their river model, which I hope will make the creation of it on Friday an easier process. It allowed for some problem-solving and checking of student understanding.
I think we're ready to make some models!

Friday, October 29, 2010

River features intro

Today we started early to avoid the Halloween-y afternoon mayhem. We gave the kids time to add final details to their projects, which fortunately allowed some kids who had been absent to catch up. When everyone was finished I called 3 sets of students 2 at a time to take a look at some of their choices and ask the class what was the same and what was different. This was to reinforce the compare/contrast idea we introduced on Wednesday as well as to give the kids a chance to conclude the project with a critique of sorts. I also asked the kids what they thought the final product should be: a mounted piece to hang on the wall or a functional piece that would be useful. It was a unanimous decision to have something useful, so I'll be sewing them on the machine to turn them into little ditty bags which they can hold their upcoming timeline book project in.
It was then time to introduce more river information. Cindy led the students in reading a packet that described rivers in their multiple aspects. Doing the reading helped emphasize main idea and details which we'll continue to stress when we start our river models next week. Cindy had begun a drawing on the board when the reading discussed ports at the mouths of rivers. When the reading began describing source and waterfalls, I continued the drawing so we ended with a full illustration on the board. With this in mind next week we'll have the kids sketch and plan what to include in their river models before we work them in clay.

Saturday, October 16, 2010

Riverbend trip


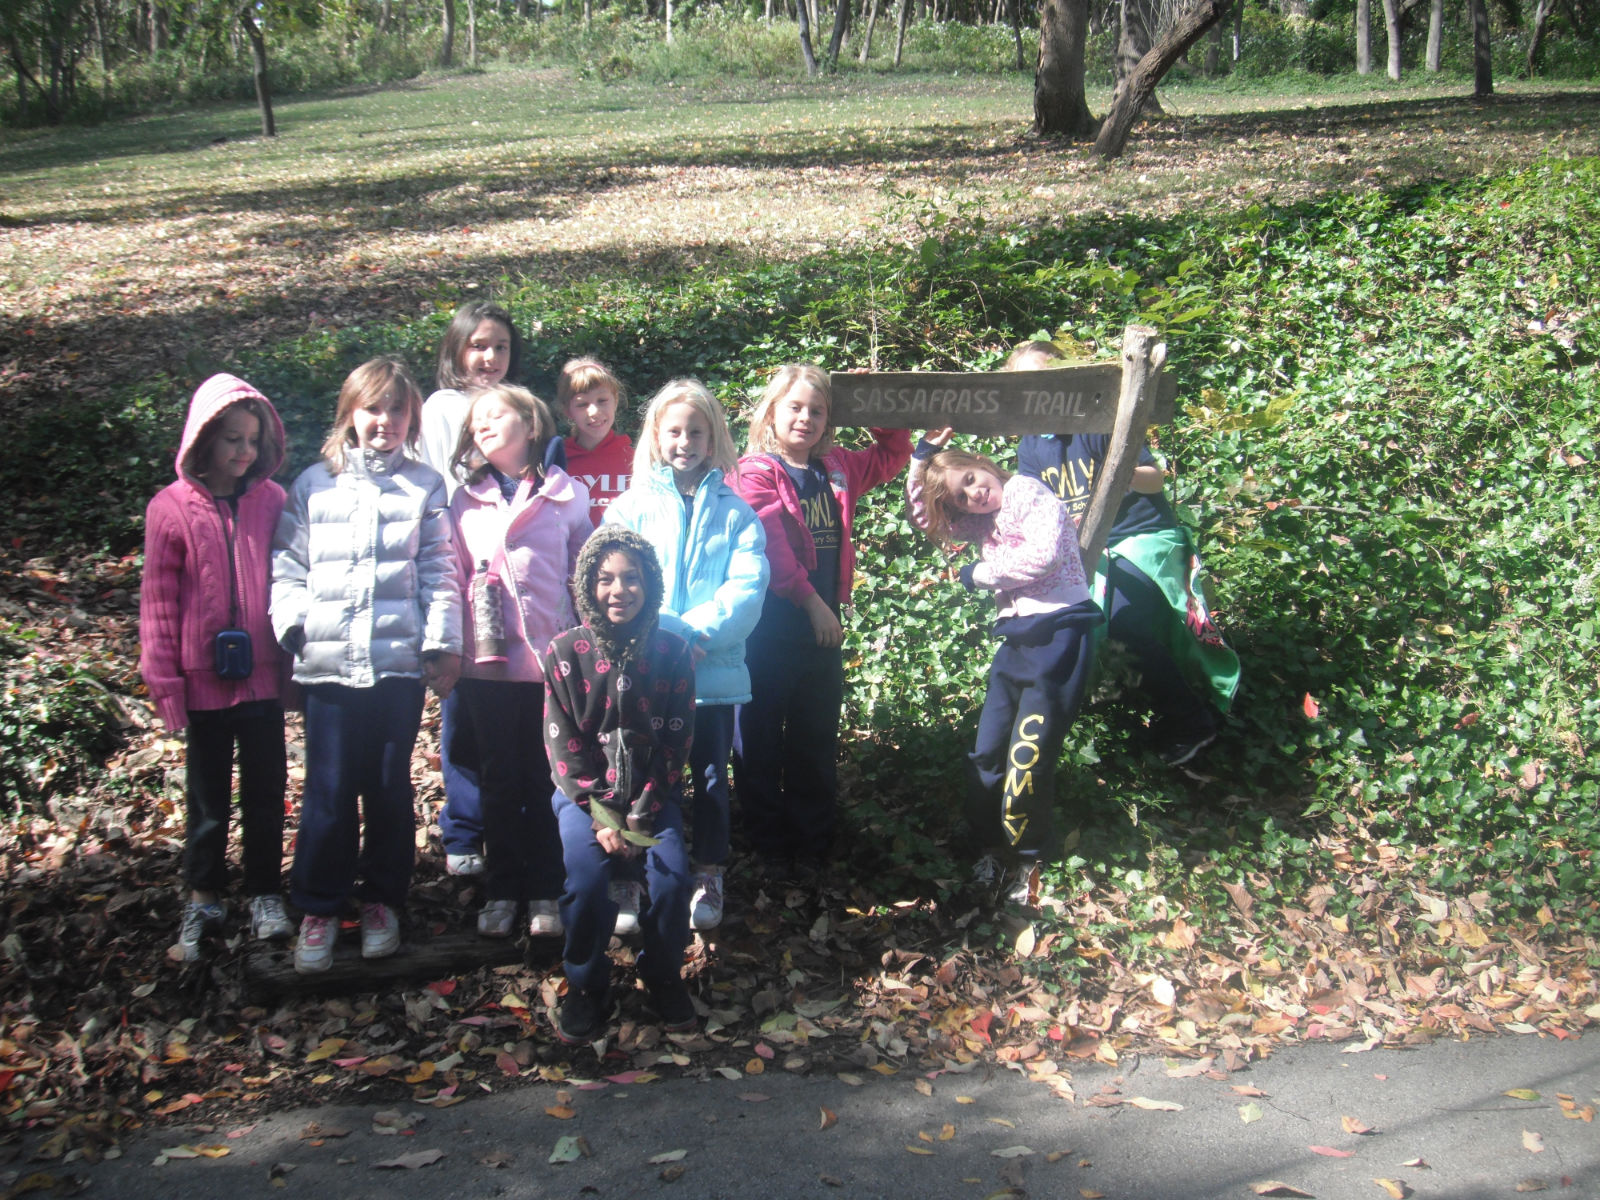
Friday was our last field trip, which was to Riverbend Environmental Center. Riverbend sits at the Western edge of "Conshohocken Curve" above the Schuylkill River. Saw Mill Run is the stream that runs along the edge of the center. From the parking lot you cross the stream and climb a hill to a big red barn that smells of old pine. Inside, terrariums filled with turtles, snakes, and insects line the walls. We gathered there for a short introduction before being split into two groups to rotate throughout the activities.

We climbed farther up the steep hill to the ridge where Riverbend's "Lenape Camp" is found. The Lenape Indians once used the land around Riverbend as a summer camp due to its ideal fishing site along the river and its wealth of forest plants and animals. Our group started with "Gifts of a Deer". Guide Vanessa, told us the Lenape never wasted a single part of the deer they hunted, for its life was a great gift to the Indians. She passed around various deer bones and asked us to guess the part and what it might have been used for. The items included  a scapula, a lower jaw bone with molars, an antler, a furry tail hide, and a foreleg. Then she shared some tools made from each of the parts. The flat triangular scapula was lashed to a tree branch to be used as a hoe, and the antler was lashed to another branch for use as a rake. The molars on the jaw bone would have been used to husk corn kernels. The soft fur had many uses for clothing and comfort. The foreleg may have been used as a tool handle, but more importantly, the sinew from the tendons was used as a strong thread or rope for connecting and lashing tool parts.

We then moved on to "Gardening and Foraging". Vanessa said the Lenape did not do a lot of agriculture because they travelled from camp to camp following the seasons. However, they did plant "the three sisters": corn, squash, and beans for their complementary nutrients and their multiple uses as food and tools. She told us "foraging" meant searching and finding food from nature, and explained how the Lenape found many medicinal and edible plants in the forest. In a grove, Vanessa sent the children out to find various plants, each labeled with a card showing pictures of full growth and an explanation of use. It was interesting to see how the students scanned for content rather than read the entire description, but their scanning did not always provide them sufficient information.

Next we experienced "Home and Hearth", consisting of a child-size model of a Lenape longhouse covered in reed mats, a fire ring and tripod. The children trooped inside the longhouse and sat on furs and reed mats.

Vanessa showed many items typical of Lenape life, including soft leather loincloths,skirts, and shirts, embroidered moccasins, corn husk dolls, a baby doll on a cradle board, and various musical instruments. The children got to handle and try out all of the items. (unfortunately our first, originally working video camera froze up at this point!)
Moving on we learned about "Hunting and Fishing". We had already learned deer were one of the animals hunted by the Lenape, but Vanessa showed us the furs of many other animals of the forest, including bear, beaver, coyote, squirrel, fox, and rabbit (the softest!). She also showed us a picture of the Lenape's favorite fish to catch: a 12 foot long sturgeon that could feed an entire village for days. Sturgeon are no longer swimming in the Schuylkill, nearly fished to extinction and forced from their habitat, but some still swim in the Delaware (As my husband who works on the Delaware Riverside can attest!).

that's how long  a sturgeon was
 We concluded our Lenape lesson and went back to the barn for lunch. Afterward we switched guides and began our afternoon lesson on watersheds and healthy streams. Roxanne brought us out to see a working model of a watershed, which included a ridge, slope, tributary, and river, as well as community features such as farms, houses, and factories.
To explain a watershed she had two children stand beside each other with their hands meeting in a "V". The heads of "Mount Daniella and Mount Angelica" became the ridges, and their arms sloped down into a valley with a stream rushing between them. A watershed or drainage basin collects all the rainwater that falls between the two ridges. Gathered around the model, Roxanne talked about some of the pollutants that occur within a watershed. She used chocolate sprinkles to represent animal droppings on farms and in pet-owners yards, sea salt to represent our salted winter roads, green water to represent oil and antifreeze leakage that occurs on our roads from our cars, pink water to represent chemicals used as pesticides, herbicides, and factory chemical waste, and cocoa powder to represent loose dirt in fields and deforested land. Once the model was "polluted", each of the children had a chance to make it "rain" with a water spray bottle over the watershed model. Very quickly we heard cries of "Oh no!!!" and "Ewww!" as the rain water dripped down the slope washing all of the pollutants into the river in a brown icky mess.
Roxanne then asked us to think of ways we could prevent pollutants from entering our watersheds. I told the students we would be making our own river model in the near future and that they should observe some of the features that they might want to include in their own.

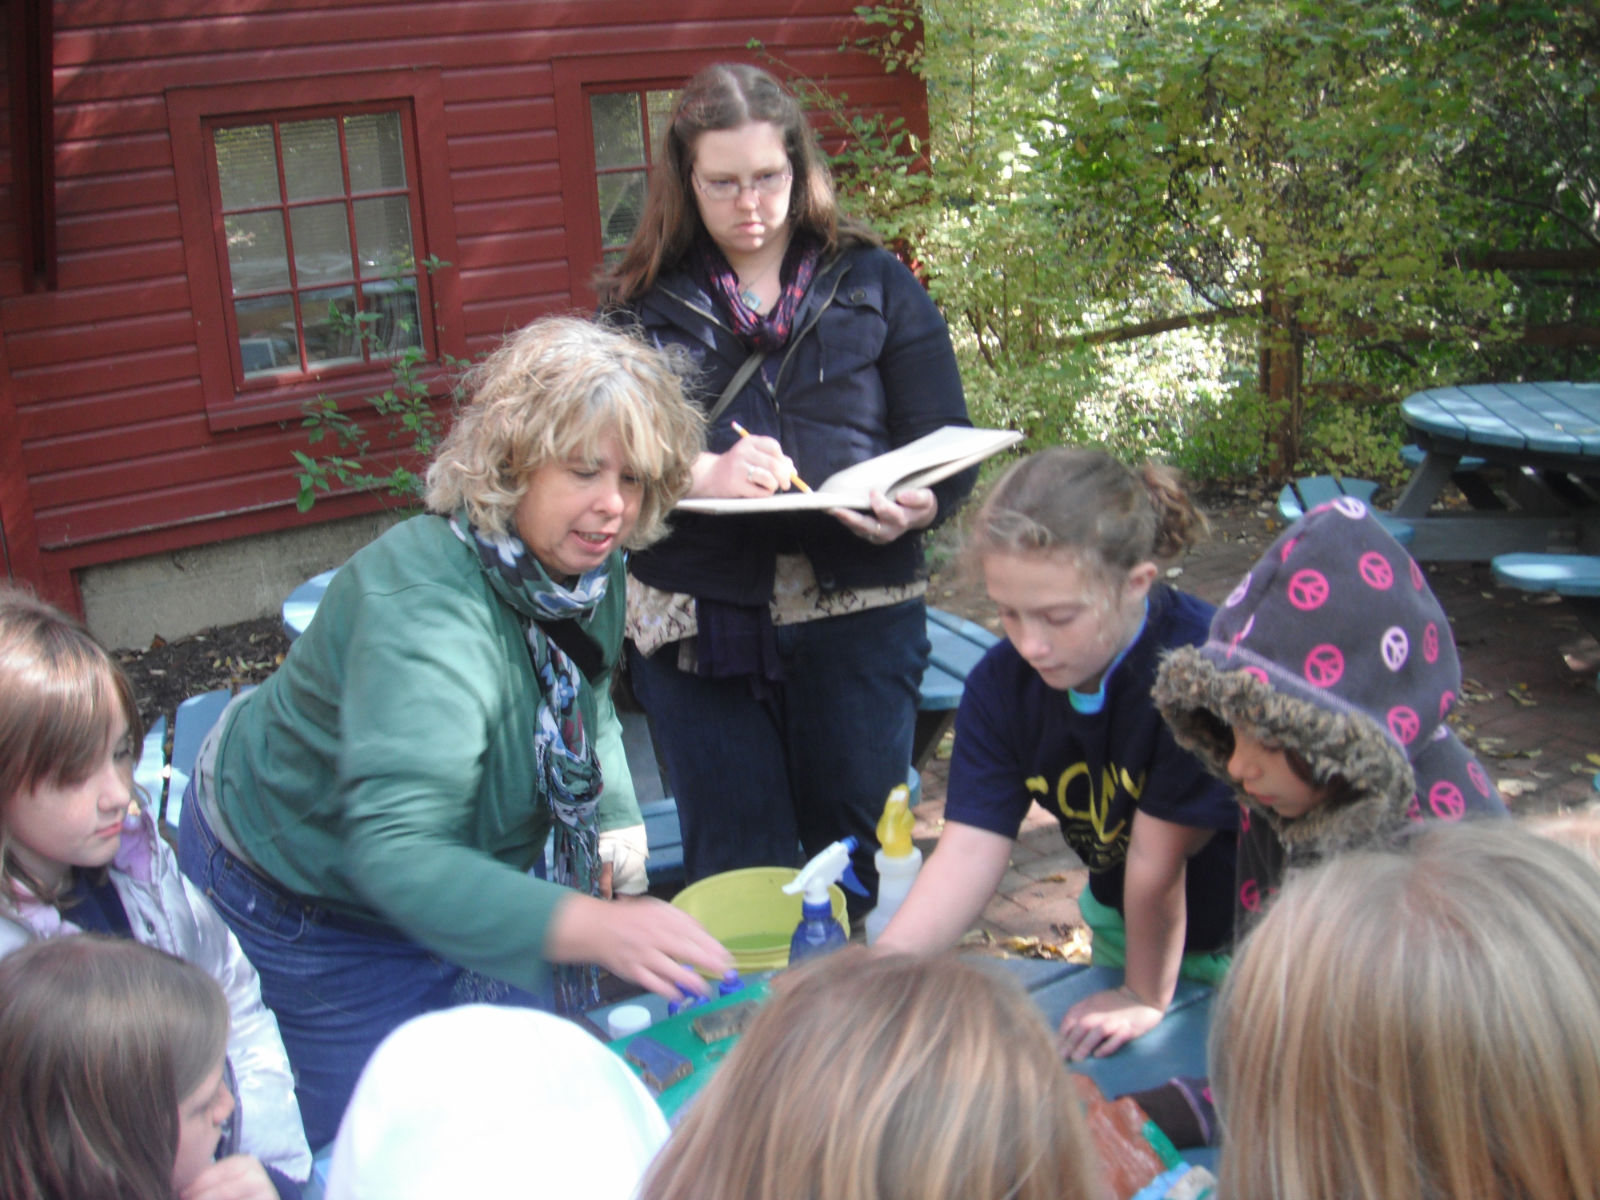
since the videocam failed, I whipped out my sketchbook and watercolors
It was time to try our next station, which looked at the health of streams based on the aquatic and insect life that could be found in a water sample. We split into three groups and were provided a poster showing three levels of stream health with pictures of animals found in each as well as a set of laminated insect cards to sort and match on the poster. Group 1 streams have no pollution and are in green sites like parks and wilderness with lots of trees, falling leaves that provide nutrients, shady banks that keep the water cool, and strong root systems along banks to prevent erosion. Group 2 streams have a fair amount of pollution and are in yellow sites like farmland or suburbia that have deforested land, warmer water temperatures, and fertilizer, herbicide, and pesticide runoff. Group 3 streams have a lot of pollution and are in blue sites like cities with no plantlife along concrete riverbanks, many buildings, and factory, trash, and oil runoff.

Our final station was a search for macroinvertebrates in the actual stream. Armed with small cups and instructions to turn over rocks in the water, the kids examined the stream. Unfortunately, we found very little, but were told that was because it was getting too cold out for insects and the rain the night before had washed much of the insect life downstream.
This was a remarkable hands-on experience for our third-graders. There was a lot of information to take in, but it complemented our learning objectives for this project perfectly. Back at school the kids finished painting a river scene to accompany their writing assignment summarizing the previous week's field trip. I helped Cindy mount their pictures and writing samples on black paper to hang in the hall. Their writing has improved dramatically from the first samples I viewed!

Thursday, October 14, 2010

Field trip! Urban Delaware River

This morning we had our second field trip. We visited the Coast Guard Base on Columbus Blvd to experience the fire department's fireboats. Tide was almost out, so we had to walk down a steep ramp to the floating dock. Two ships were tied up at the dock- a brand new pumping boat and a 60-year old workhorse which we were told helps the Coast Guard chop up ice floes in Winter. We boarded the pump boat and the groups went up one by one into the wheelhouse to hear the pilot speak. I kept an eye on deck, so Cindy will have to elaborate. While the groups waited their turn I tried to engage the kids in thinking about what they saw along the river and how it was different from our previous ship. The children were very excited to see ducks, seagulls, and a very small school of fish in the water.
After the talk the pilot asked the engineer to start up the pumps. The boat has three spray nozzles: one on the bow of the boat which swivels left and right, one at the stern which swiveled up and down and left and right, and one very large one on top of the wheelhouse that shot the water nearly straight up. The students had great fun taking turns controlling the direction of the spraying water, pretending to put out fires. It was even more impressive when all three nozzles were going at full force!
After that great adventure, the pilot took us on a tour of the rest of the pier. We looked at a buoy boat which checks on and places red and green buoys in the river to direct the boat traffic. We also saw various police boats. Some were very small and fast, others had removable sides for aiding in rescue and to allow divers to ease into water. We saw a Pilot boat which takes a pilot out to a ship to steer a foreign ship up the river. On the opposite bank of the river we viewed huge container crane elevators that lift container boxes onto ships. We saw a stack of orange shipping containers, and even saw one drive by on the bed of a truck. This helped explain how goods are brought from other countries, like toys and food, in big containers and then set onto trains and trucks to carry throughout the country. The Pilot also explained that it's the Coast Guard's job to protect us and to inspect the goods and people that come into our port cities on boats.

Saying goodbye to our pilot, the kids hopped back on the bus to make a short trip to the Great Plaza at Penn's Landing. We ate lunch at the riverside- a challenge with all the hungry seagulls about! There's a very detailed engrave scale model of the Delaware River along the promenade, so after lunch we lined the kids up for a follow-the-leader down the river. Before we started I asked if they remembered in which state was the river's source (New York!), and then as we go down the river what state is on our right (PA!), and on our left (NJ!) and where is the mouth of the river (Atlantic Ocean!). Walking down the river we noted all the tributaries and major cities along the path. We had enough free time to allow for some sketching. I helped one boy do a grid enlargement of the river engraving he wanted to draw so much. I drew out a grid on his page after asking him to count how many tiles there were. Then we looked at each tile and found the lines to match up with the squares on the page. Other students drew the Ben Franklin bridge, and others noted the many birds about.
We took one last stroll down to a Steamboat docked at the landing, then returned to the bus and back to school. There's so much new information to think about! I'm eager to get back into the classroom so we can process these ideas with our art projects and writing. One more Field trip to go on Friday!

Saturday, October 2, 2010

Day 5: continents and world map screenprint


world map image used in screenpint
 My perception of Friday's lesson is not as universal as previous days as I was really just working with small groups of students at a time, so hopefully Cindy can fill in what I missed.

I started with a quick review to see what the kids remembered from our previous sessions. (Responded shapes/lines, Van Gogh, one kid remembered Jean-Francois Millet correctly pronounced even!) I said we've been working on a lot of reading and writing lessons, but that we're starting to work on some more social studies ideas now. I brought in my Philly daily map screenprint on fabric to show the kids. I asked them if they could figure out where it was and what the format reminded them of (number grid!). After a few more hints they figured out that my repetition of the map represented a calendar. I explained that screenprinting is a type of printmaking for making copies of something. I compared printing to the computer printer or photocopier, but that a long time ago before machines, artists and mapmakers would use printmaking for creating lots of copies of maps.
On the board I listed several screenprinting terms: screenprint, squeegee, ink. I showed them the screen and carried it above their heads so they could see the light coming through the screen. I said the empty spots where you see light is where the ink goes through and the red stuff (screenfiller) blocks the ink from touching the paper or fabric. I also passed around a squeegee and said it had a handle and a blade. Then I demonstrated (without ink) how to pull the squeegee across the screen to make the ink go through. Then I explained the printing process we'd go through as a group: come back, put on a smock, pick a fabric, place it on the board following the taped outline, 2 people to help hold down the board and screen while one person prints, then to wash hands while I hung their print on the line to dry. I insisted that it was very important that we cooperate, move quickly to get ready and exchange smocks and print because if the ink dried out in the screen it would block up the screen like the red stuff and ruin our image.
I asked them what the image on my screen looked like (response- a map!). I asked them if they knew their continents already (North America! Asia!....) Cindy uncovered a map of the world on the bulletin board and I tried pointing to each continent to see if they could remember any more (Arizona! London!). Cindy said she was going to teach them a song later about the continents, but I'd already planned to share one and asked if she minded if I sang them my version.She said okay and I asked the kids to sing/repeat after me as I pointed to each continent. To the tune of Frere Jacques, "Europe, Asia (repeat), Af-ri-ca (repeat), North and South America (repeat), Antarctica, Australia (repeat)".  We sang that twice, and then I pulled out a paper copy of the map we'd be printing (see top of post), and said I'd like them to color in each continent a different color following the colors on the map on the board while the individual groups were back with me printing. Cindy stepped in to run the map diagram portion of the lesson and I went back to set up/start printing.

Bailey reveals her print
 Each group came through very quickly and orderly. They helped each other put on smocks and print. I let the kids pull at least one stroke towards them across the screen, and then to ensure a complete print, I pulled a second stroke back. We lifted the screen and the kids pulled out their complete print. I wrote their name on the bottom, hung it up, and moved on to the next kid to print. They all followed directions beautifully! We had no big mess!!! I was most afraid of this, since we were in a regular classroom not the art room, and I didn't want any kids to mess up their clothes. One student ,who I believe is an ELL student, lit up when he printed and asked "I do it 100 times?!!" He really enjoyed printing, and I hope through the rest of our art activities he'll be a more engaged and confident learner. Another student, who seems very resistant to working in color for some reason, found printing very exciting and as he watched everyone in his group print kept saying "It's MAGIC!!!"

As I said before, I was not totally aware of what the rest of the class was doing as I worked with each group. At one point there was some boat drawing on the board. Generally, the students seemed focused on work in their sketchbooks. So Cindy will have to fill in here.

At the end of class after I had cleaned up all the screenprinting paraphernalia, I reviewed the vocabulary we had learned about screenprinting with the kids and we sang the continents song one more time. I explained that next time we'd be learning about rivers of the world and stitching on our fabric maps.

There's no way I could have done screenprinting in this way without another teacher in the classroom. Today I really felt like an ARTIST in residence more than a TEACHING Artist in residence because I was really working individually with the kids to go through the printing process. In a way I was a little carried away, because I probably could have changed my orientation in the room so to be more aware of the entire classroom. It's too bad we couldn't have gotten through our rivers of the world series of lessons prior to the trips that are coming up. I hope the kids don't get confused. On Wednesday we need to go through the science and social studies pretests before our North American River lesson starts. We should probably have some animals, plants, people, etc worksheets ready, as I'd like the students to add a detail like that to the map in marker before we start stitching. 

Thursday, September 23, 2010

River project at PMA by BuildaBridge

I wanted to share these images I saw in the ed wing at the PMA 2 weeks ago from a summer project focusing on Takoony and Wissahickon water sheds created by students of Buildabridge. Specifically the painted rivers on the wall- what color is a river, really? They illustrate the rivers that were studied.
buildabridge painted river model PMA Sept 2010
They also created a river model sculpturally like we haveplanned. There's is large, collaborative, and uses layers of cardboard to make the topography and wood blocks and cylinders to represent the city around the river. Interesting for comparison sake. These were completed by 5-8th graders I believe.
buildabridge river model at PMA Sept 2010